Magisk - Interface de racine et interface universelle sans système
Informations sur l'emballage :
- Langues : Multi langues complet ;
- Processeurs : armeabi-v7a, arm64-v8a, x86, x86_64 ;
- DPI de l'écran : 120dpi, 160dpi, 240dpi, 320dpi, 480dpi, 640dpi ;
- Apk non modifié avec la signature Hash originale, aucun [Mod] ou changement n'a été appliqué ;
- Certificate MD5 digest: ceda68c1e174710aef58897dae6eab4f
Description
Installing Magisk will give you ROOT, a super powerful Systemless Interface, Magisk Modules support, and hide from tons of integrity tests like SafetyNet! Install, upgrade, manage, configure the Universal Systemless Interface – Magisk within a single app!
Here are some key features:
Status
• Check Magisk Version and updates
• Check root status
• Check SafetyNet
Installer
• Select boot image location
• Advanced installation settings
Superuser
• Manage Superuser permissions
• Toggle logging and notifications for each individual application
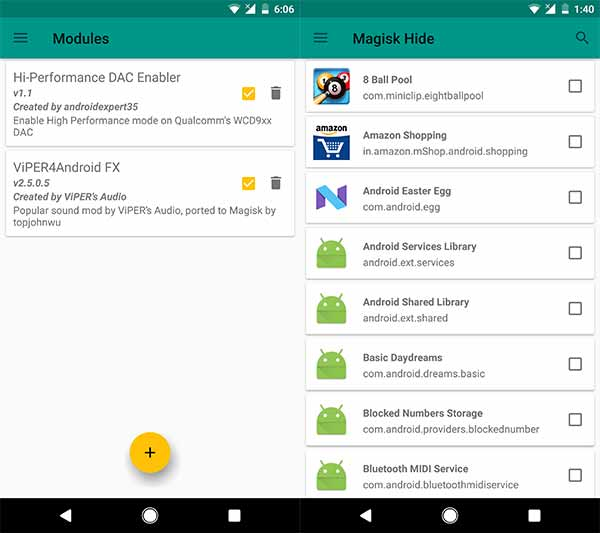
Modules
• Enable/disable, remove Magisk Module
• Manually add Magisk modules by selecting Magisk Module zip files
Téléchargements
• Download Magisk Modules hosted on the Magisk Repo
Magisk Hide
• Select the app you want to hide Magisk from
Settings
• Toggle systemless host support
• Toggle Busybox support
• Toggle Magisk Hide
• Tons of Superuser settings
… and much more to come!
Installation Instructions
If you already have Magisk installed, it is strongly recommended to upgrade directly via Magisk Manager
Instructions for installing the first time are presented below:
- If you plan to flash a custom kernel, flash it AFTER installing Magisk
- Make sure to remove any other root, your best bet would be restoring your boot image back to stock Via custom recovery:
- Download the latest Magisk zip file
- Reboot to a custom recovery and flash the flashable zip
- Reboot to system, and check whether Magisk Manager is installed and the version matches the latest one in the OP
- If for some reason Magisk Manager isn’t installed/upgraded automatically, please install/upgrade it manually!
Via Magisk Manager (Only support v14.0+): - This method does not need root, and also does not require a custom recovery.
- However, you MUST have a stock boot image dump beforehand, and you also have to be able to flash the patched boot image, either through fastboot/download mode or ODIN
Install the latest Magisk Manager - If you’re planning to flash the patched boot image through ODIN, go to Settings > Update Settings > Patched Boot Output Format, and select .img.tar. For normal users leave it as the default .img
Press Install > Install > Patch Boot Image File, and select your stock boot image file Magisk Manager will now patch your boot image, and store it in [Internal Storage]/MagiskManager/patched_boot.img[.tar] - Copy the patched boot image to your PC. If you can’t find it via MTP, you can pull the file with ADB:
adb pull /sdcard/MagiskManager/patched_boot.img[.tar] - Flash the patched boot image to your device and reboot. Here is the command if using fastboot:
fastboot flash boot /path/to/patched_boot.img
Requirements: 5.0+ (+Root)
Captures d'écran


